Working Toward Toileting Independence
Toilet training is adult-led and on the adults’ time. Toilet learning involves the child in the learning process. This is their big work.
“Learning to use the toilet is a natural process that begins when your child’s desire to be grown up and his neurological development have reached the point where he can control his bladder and bowels. We don’t train children to use the toilet, we support them when they are ready.” (Tim Seldin, Author of How to Raise an Amazing Child: The Montessori Way to Bring Up Caring Confident Children)
Exposure: The Earlier the Better
During Infancy
- Talking about toileting and using bathroom
- Use correct anatomical language
- Learn to recognize when infants need to “go”
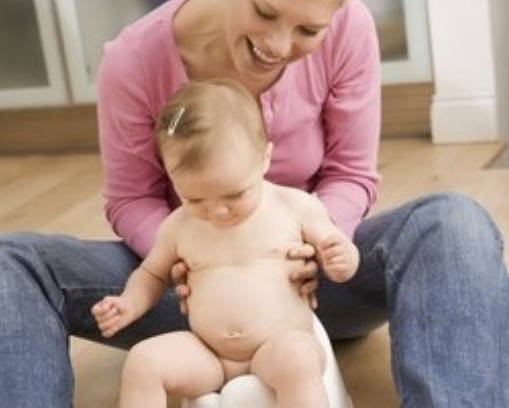
- Have infants sit on potty chair (or at least have one out) so that they get familiar with it
At 12 months
- Get your child familiar with the tools used in toileting (like a potty chair)
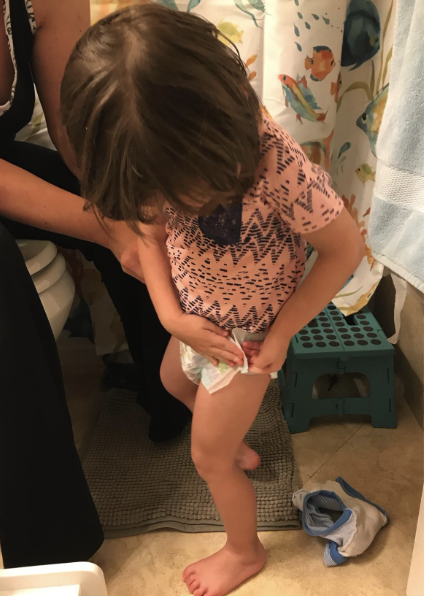
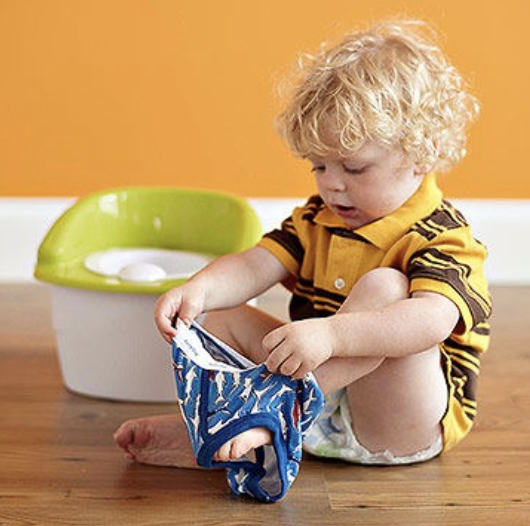
- Work on dressing skills – being able to get pants on and off, pulled down and up independently
- Start watching for signs of readiness. Toilet learning is easiest before 24 months (when the full self-will develops).
Choice of Diapers
- Disposable diapers is the most commonly used
- The use of cloth diapers (if a you go that route) allows a child to experience the wetness, allowing for earlier toilet-learning
- Pull-ups are not recommended – they are just like diapers and will only prolong the toilet learning process
Signs of Readiness
- Interested in the toilet
- Seeking privacy to go to the bathroom in his/her diaper
- Will sit willing on the toilet – this should not be a battle
- Will void into the toilet – becoming aware that they are emptying their bladder
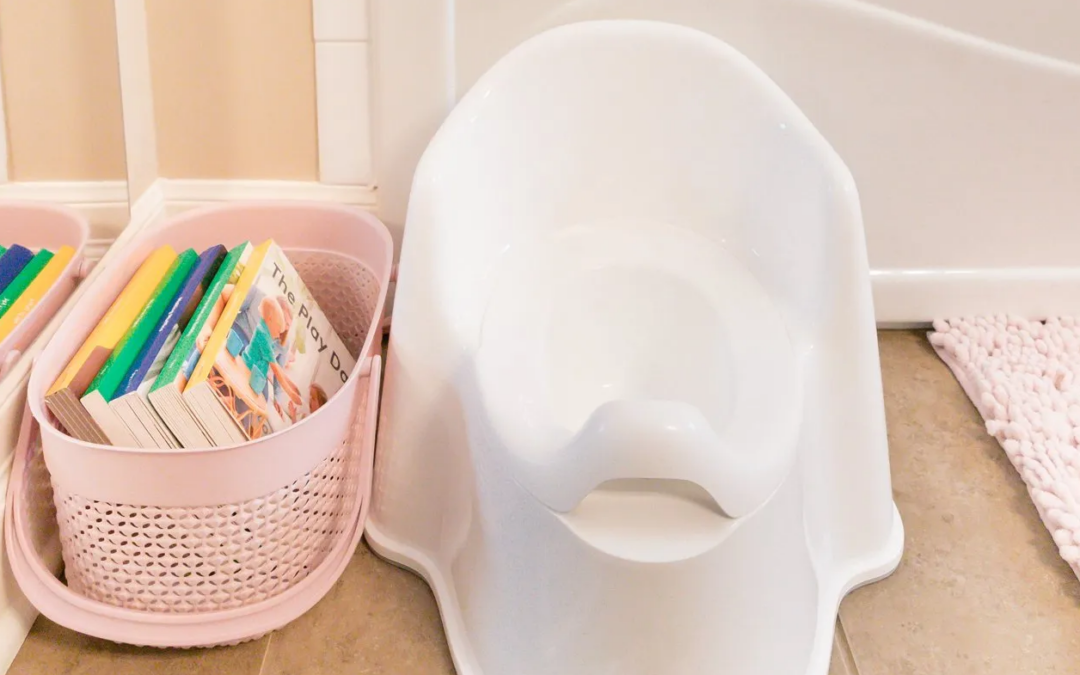
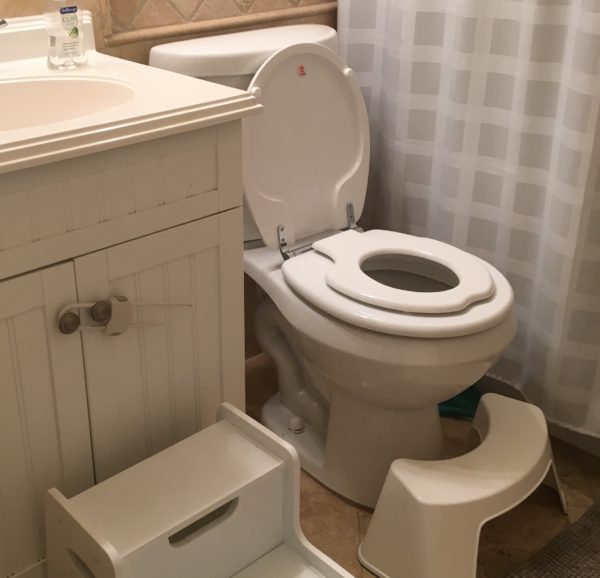
Preparing the Environment
Select an area of the house that includes a bathroom. Either select a tiled area or roll up the rugs. Invite your child to help you set up the area.
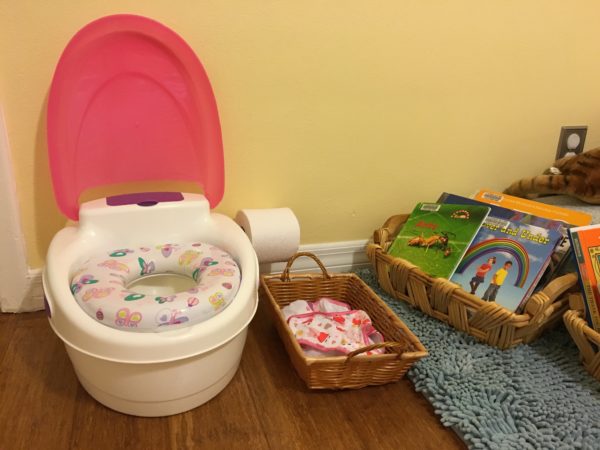
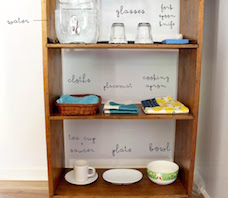
Supplies needed:
- Potty chair and/or potty seat adapter (attaches to the adult toilet seat)
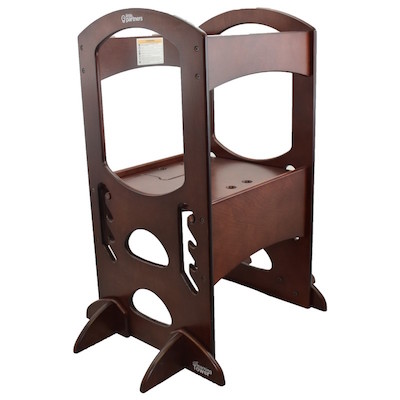
- Step stool to toilet
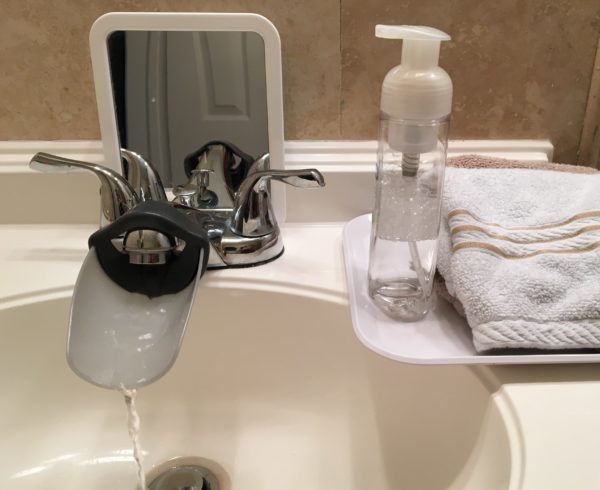
- Step stool to sink
- Liquid hand soap they can easily use
- Basket of clean underwear
- Basket of clean rags
- Spray bottle that your child can operate independently
- Timer
- Basket of books, games, things to do (could be special items that can only be used when sitting on the toilet)
Preparing Your Child
- When the child is able to stand, change her diaper with her standing up; she can help
- Whenever you can, empty the contents of the diaper into the toilet and let the child watch you do it
- Take him/her to pick out underwear
- Underwear should be thin – not training pants
- Tell your child ahead of time that you will be switching to underwear on __ day. Count down to this day (mark on a calendar, talk about it at dinner, etc.)
- Maintain a calm, yet excited demeanor (no pressure)
Practicing
Let your child know when the big day has arrived! Enjoy lots of extra beverages to encourage practice.
- Use the mantra, “We want to keep our underwear dry.”
- Have your child sit on the toilet for a minute or two
- Talk with him/her about the feeling of going to the bathroom. “Do you feel any urine in your bladder?
Always offer a choice!
- “Would you like to sit on the potty or the toilet?”
- “Would you like to select your underwear or would you like me to pick it?”
Try Using a Timer
- Set the timer to remind you and your child to go and sit on the toilet
- Start with setting the timer for every 20/30 minutes
- As they stay drier longer, you can start stretching the time
- Do not ask if they have to go – they will tell you no – they will not want to stop what they are doing in that moment
- They WILL NOT tell you when they have to go!
- Keep it very matter-of-fact. “It’s time to use the toilet.”
The Following Days
- Keeping the schedule consistent is key
- Take a potty in the trunk of the car or limit outings to 1 hour
- Go to the bathroom before each trip out
- Go to the bathroom immediately upon arrival
- Go again before leaving
- Go again immediately when arriving at home
Accidents
- Continue to talk/ask about how his/her body feels -but do not hover- remember that mistakes happen and that is how they learn. They need to feel that they are in control of their bodies and this big work
- Ask, “Are your underwear dry or wet?” (brings attention to this)
- When your child wets or has a bowel movement in their underwear – don’t overreact! It’s best to stay calm and try not to reference it as an “accident.” Just simply state the obvious – “you wet/soiled your underwear” “now it’s time to get cleaned up.”
Celebrating Successes
- When successful, describe the success. “You went to the bathroom in the toilet!” “You sat on the toilet and peed!”
- Avoid using bribery like stickers or candy. Toileting is something we all do. Children do not need praise for toileting.
- Celebrate victories with your child – but do not make your love conditional on success.
Suggested Schedule (Post Training)
Daytime:
- Right when they get up
- Right before meals
- Right after meals
- Right before bath
- Right before bed
- Before going out in car
- Upon arrival at new destination
Nighttime:
- Parent choice: toilet-learning happens faster when nighttime is done at the same time, but it’s also ok to focus on daytime success first before tackling overnights
Please coordinate with your child’s Guide. This process will go more smoothly when you work in partnership!
Resources


Montessori from the Start: The Child at Home, From Birth to Age Three by Paula Polk Lillard & Lynn Lillard Jessen

Diaper Free Before Three by Jill M. Lecovic
Danuta Wilson, Toddler Guide and Team Leader at Greenspring Montessori School, presents on toilet learning at home the Montessori way.


