Living Our Values at Greenspring Montessori School
At Greenspring Montessori School, our values are not separate from learning — they are woven into daily life. From the youngest children in our toddler classrooms to our adolescents preparing for adulthood, students experience what it means to live with purpose, responsibility, compassion, and courage.
Creating Classroom Values
At the beginning of each school year, our Children’s House, Elementary, and Adolescent students create classroom charters together. These charters serve as ongoing reminders of the values that shape their classroom communities.
Students reflect on questions such as:
- What kind of community do we want to create?
- How do we want to treat one another?
- What responsibilities do we share?
Because the students help define these values together, they also learn how to hold themselves and one another accountable with empathy and respect.
We believe children learn values best by practicing them within a caring community. Throughout the school experience, we strive to provide opportunities for children to grow into values such as:
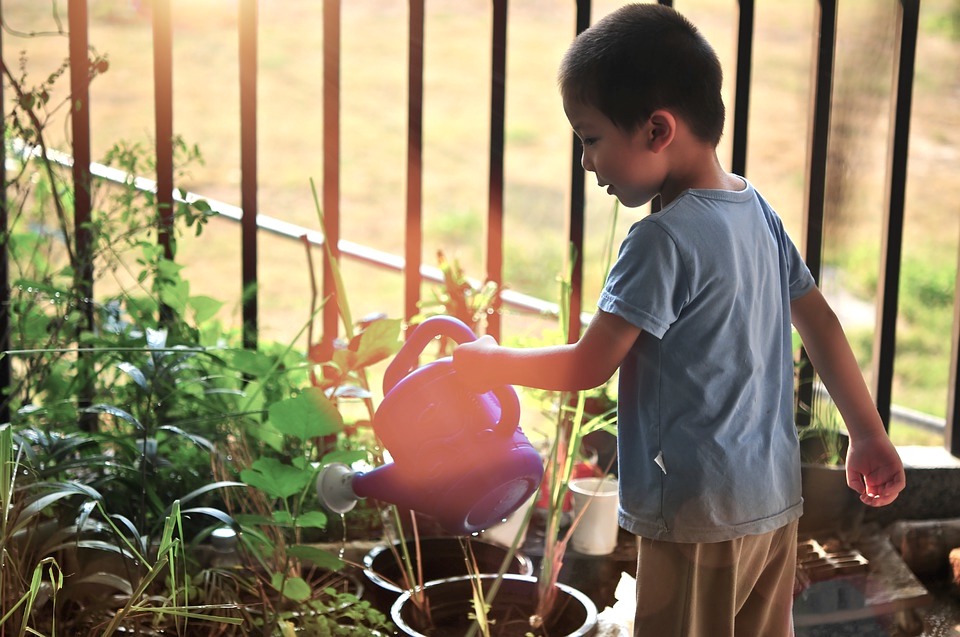
Independence & Responsibility
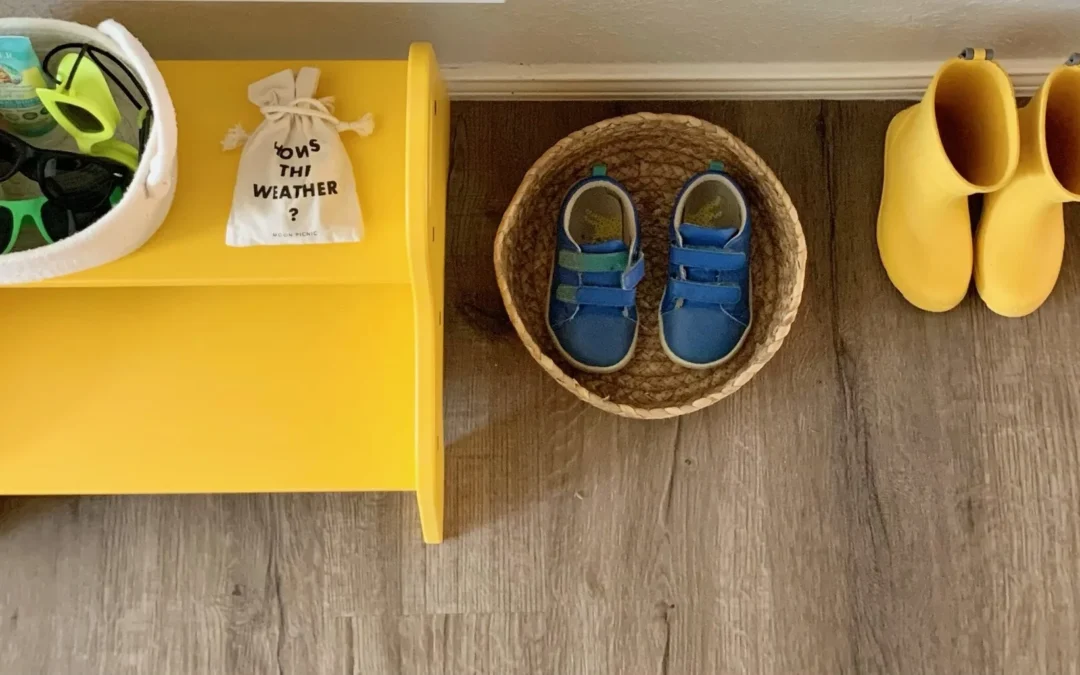
From an early age, children at Greenspring Montessori School learn that they are capable of doing meaningful and challenging things for themselves.
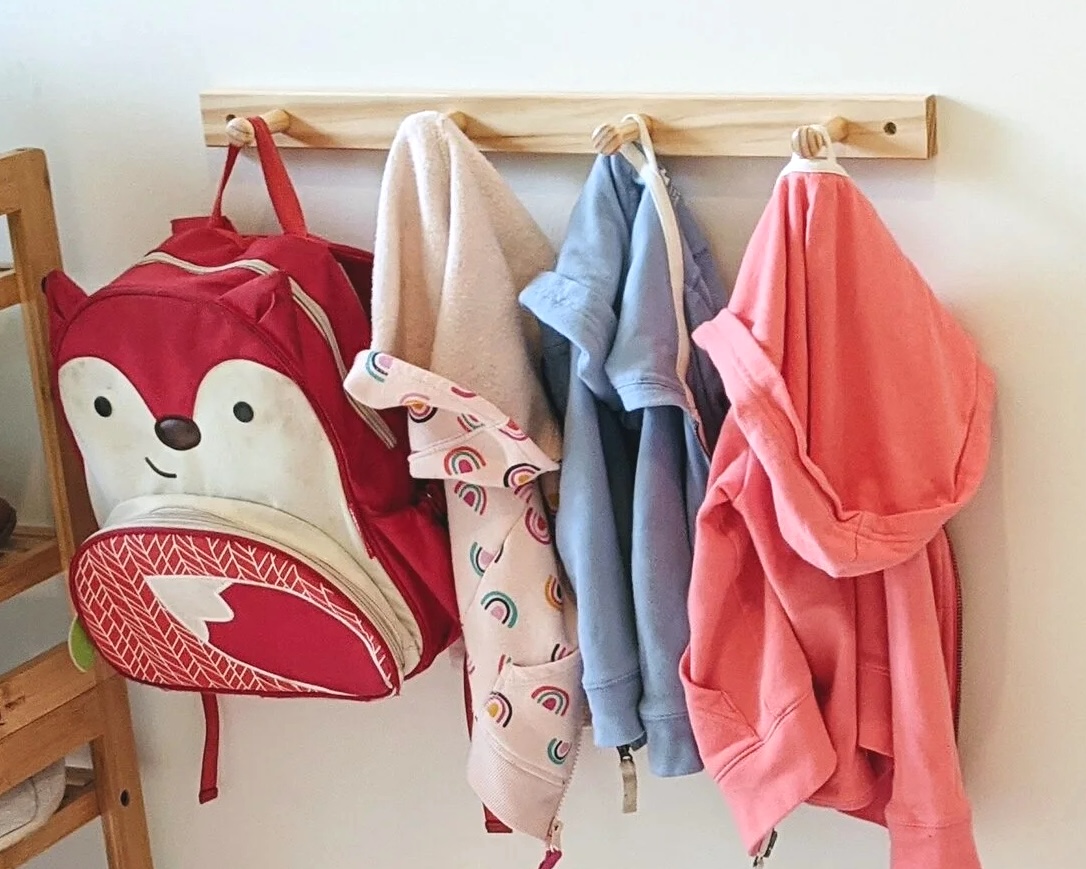
In our classrooms, even the youngest children practice caring for their own needs — zipping coats, preparing snacks, washing dishes, watering plants, cleaning up spills, and helping care for their environment. These everyday moments build far more than practical skills. They nurture confidence, resilience, concentration, and self-trust.
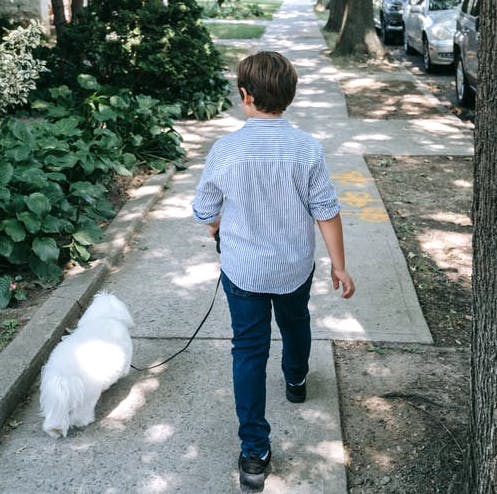
As children grow, their independence grows with them. Elementary and adolescent students learn to manage their time, organize their work, advocate for themselves, collaborate with others, and contribute thoughtfully to their communities.
Rather than relying on adults to solve every problem, children learn that they have both the ability and responsibility to participate fully in the world around them. Over time, this develops into a strong sense of personal agency — the belief that their choices and actions matter.
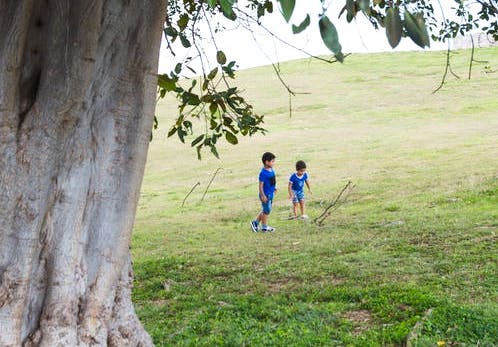
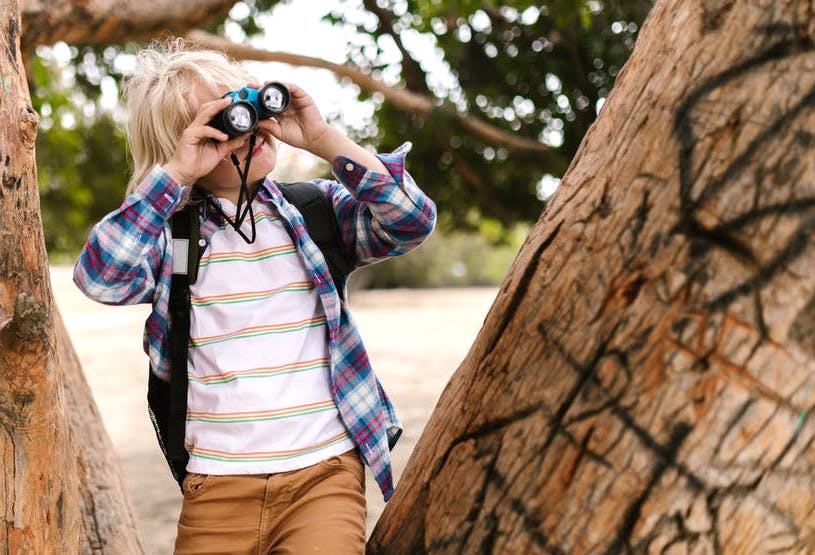
Embracing Worthy Challenges
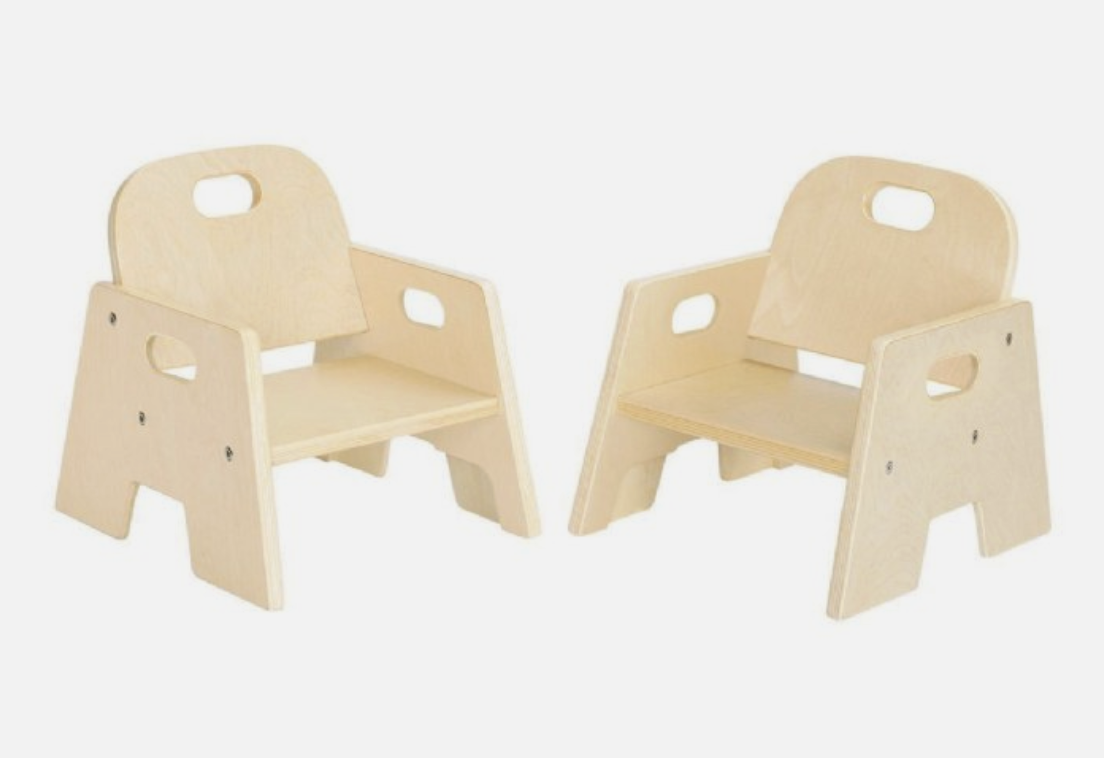
At Greenspring Montessori School, we believe children thrive when they are engaged in meaningful work that challenges them appropriately.
We do not believe in busy work or one-size-fits-all learning. Instead, our Guides and Partners carefully observe each child to understand their developmental readiness, interests, strengths, and areas for growth. Lessons and materials are intentionally matched to meet children at just the right level — challenging enough to inspire growth, but not so difficult that they create discouragement.
This individualized approach allows children to experience the satisfaction of genuine accomplishment. They learn that struggle is a natural and valuable part of learning, not something to avoid.
Over time, children begin to seek out worthy challenges for themselves. They become more willing to take risks, persist through difficulty, and approach unfamiliar situations with curiosity and confidence. These habits build a strong foundation not only for academic success, but for life.
Making a Meaningful Contribution
Children flourish when they know they are needed.
At Greenspring Montessori School, students experience themselves as active contributors to their classroom communities from the very beginning. They are not passive participants waiting for adults to do everything for them. Instead, they learn that communities are built through shared care, responsibility, and service.
Children help prepare food for celebrations, pour tea for classmates and guests, fold laundry, sweep floors, care for classroom materials, tend gardens, and support younger peers. These contributions may seem small, but they carry deep meaning. Through these experiences, children develop empathy, competence, and pride in caring for others.
In a world where many opportunities for meaningful contribution have disappeared from childhood, these experiences matter deeply. Children begin to understand that they belong to something larger than themselves and that their actions can positively impact the people around them.
This sense of contribution helps cultivate confidence, purpose, and connection — qualities that strengthen both individuals and communities.
Education for Peace
Peace education is at the heart of Montessori philosophy.
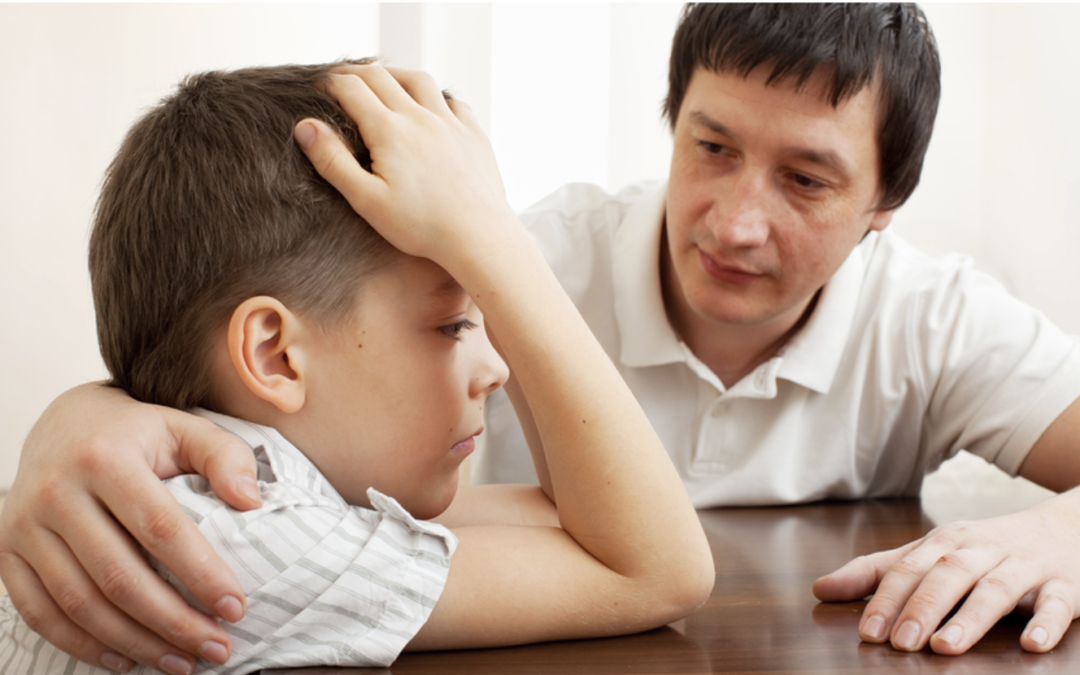
At Greenspring Montessori School, children learn that conflict is a normal part of human relationships and that disagreements can be approached with honesty, empathy, and respect. Rather than immediately turning to adult intervention, students are guided in learning how to communicate their feelings, listen to one another, and work collaboratively toward resolution.
These skills are practiced daily in both small and significant ways. Children learn how to repair relationships, include others, and navigate challenges within a community setting.
As students grow older, their understanding of peace expands beyond the classroom. They explore real-world problems, social responsibility, environmental stewardship, and the interconnectedness of humanity. Importantly, they approach these topics not with fear or hopelessness, but with compassion, critical thinking, and a belief that positive change is possible.
Education for peace is not simply about avoiding conflict. It is about preparing children to become thoughtful, capable people who can contribute to a more just, compassionate, and connected world.
These values are woven into daily classroom life, outdoor experiences, collaborative work, and community relationships. Values are not something we teach through lectures. Children learn values by living them — at home, at school, and within the communities that surround them.
When families and schools work together to lead with intention, children gain something deeply important: a strong sense of who they are and how they want to move through the world.